Filling Stitches with Hand Embriodery Fashion
Hand embroidery often involves covering small and larger areas with thread or threading technique. There are several basic stitches commonly used to accomplish this task. The most common filling stitches in general embroidery are probably satin, stitch and long and short stitch. However, it's nice to have a few alternatives when filling up embroidered spaces. Here are some of the more common
basic filling stitches.
Fishbone Stitch:
Here's a good stitch to start with, when it comes to filling smaller shapes such as leaves and flower petals. The advantage of fishbone stitch is that it really looks like a leaf when complete, and you don't have to do anything "extra" to add, for example, the spine down the middle of the leaf. If you want a perfectly smooth leaf, though, you would use satin stitch instead of fishbone. The trick to a good fishbone stitched leaf is to draw a line in the middle of the leaf shape to use as a guide. You want to keep your edges smooth, too.
How to do Stitching? Direction:
Begin at the tip of the shape, coming up at A. Make a longish straight stitch straight down, following the center line marked in the leaf. Come up at B, and then slant your stitch to cross over the base of the straight stitch, just to the other side of your center line. Come up at C, and go down just on the other side of the center line, crossing over the tip of the previous stitch you just made. Note that the stitches take turns crossing over each other at the center line. They do not enter the fabric "on the line" - rather, just to the other side of the line. In this manner, the stitches overlap each other, all the way down the shape, giving the shape that "woven" look, creating the "spine" down the middle. Keep your stitches close together - you want to cover the area solidly.
flat stich:
This is a lot like the fishbone stitch, but instead of stitching over one center line, you draw two lines just off the center, and take your needle down on either one of them. The flat stitch is also known as the Croatian stitch or the
Croatian flat stitch. Again, it solidly fills a shape, forming an overlap in your stitches so that a kind of spine runs down th emiddle of the shape. Once executed, it looks almost identical to the fishbone, except it doesn't come to a point. Flat stitch is a good way to fill in circular flower petals.
Direction:Again, with this
stitch, you're going to be working slightly slanted stitches. Come up at A, go down at B, up at C, cross over the stitch you made when you went down at B, and go down at D. Keep your stitches close together, creating a solid filling. Make certain your edges are kept smooth by following the outline carefully, and taking up very little
fabric between
stitchesSource URL: http://science-logic.blogspot.com/2007/04/Visit Saosin Tattoo for daily updated images of art collection


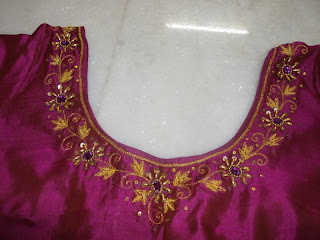
 Aari work for silk saree & blouses using stones ,chamki (sequence), small beads and type beads.
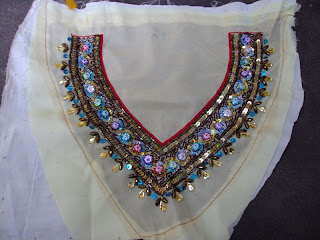
 Neck Designs for chudidaars aari work done on a net cloth


